Groups
Introduction
Groups allow administrators to organize users and sub-organizations into logical, reusable collections. Instead of managing individuals one by one, you can create a group, add the relevant sub-organizations and users, and then reference that group across different platform features.
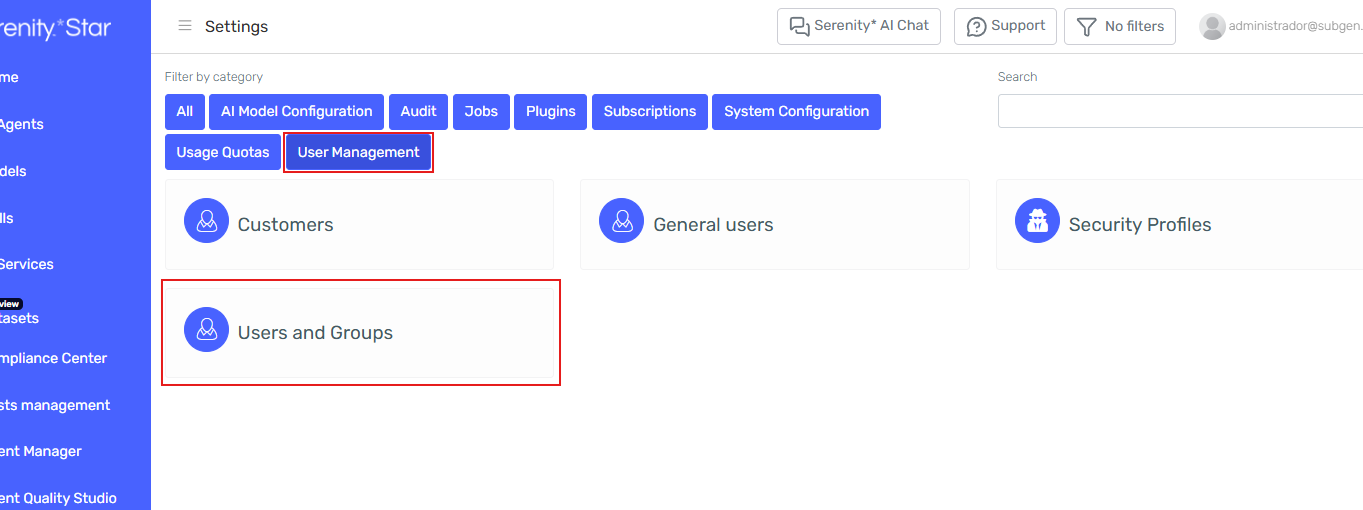
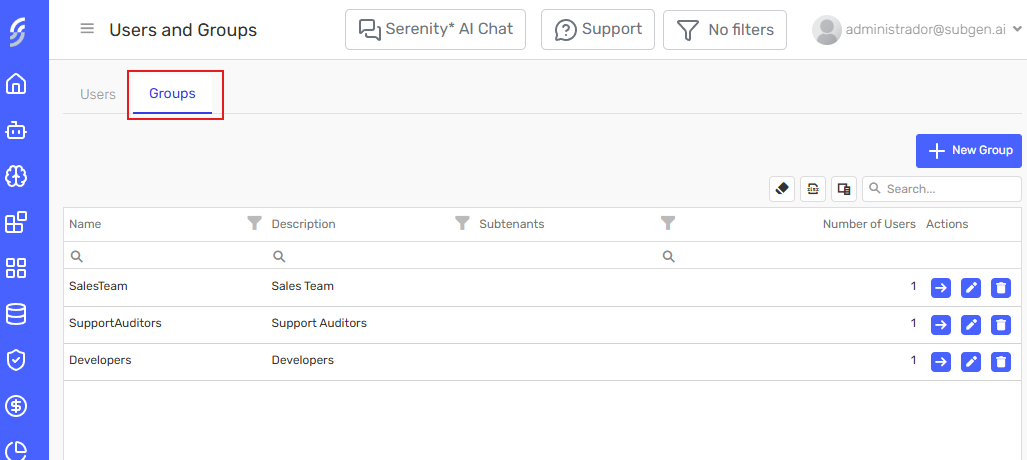
Groups are managed from Settings > Users and Groups > Groups tab.
Key Concepts
- Group: A named collection that can include sub-organizations and/or individual users. Designed for reuse across different platform features.
- Sub-organizations: Organizational units within your tenant. When linked to a group, all users belonging to those sub-organizations are automatically included as group members.
- Members: Individual users explicitly added to the group. These operate independently from the sub-organization selection.
Adding a sub-organization to a group automatically includes all of its users. Adding individual members on top is optional and complementary. A user can also belong to multiple groups at the same time.
Accessing Groups
- Navigate to Settings > Users and Groups.
- Click the Groups tab. The tab displays a grid with all existing groups, showing their name, description, linked sub-organizations, member count, and available actions (Edit, Details, and Delete).
Creating a Group
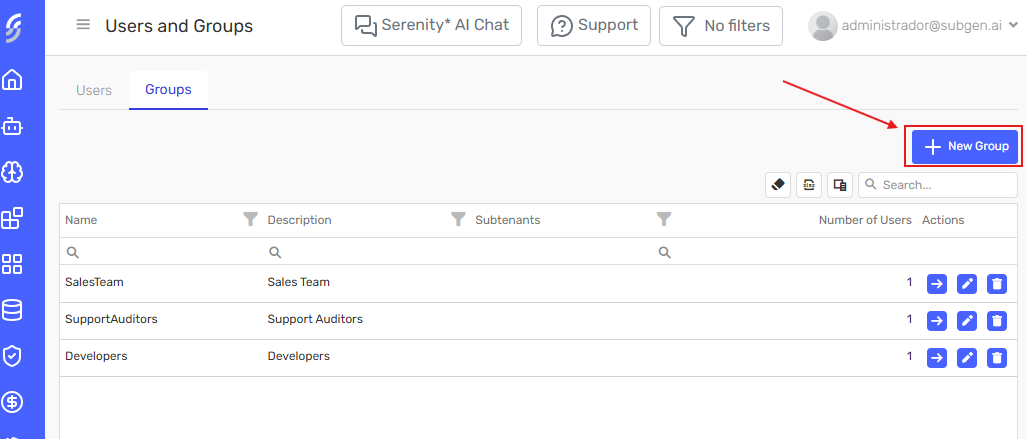
Step 1: Open the Create Form
Click the "New Group" button at the top of the Groups tab.
Step 2: Fill in Group Details
Complete the form with the following fields:
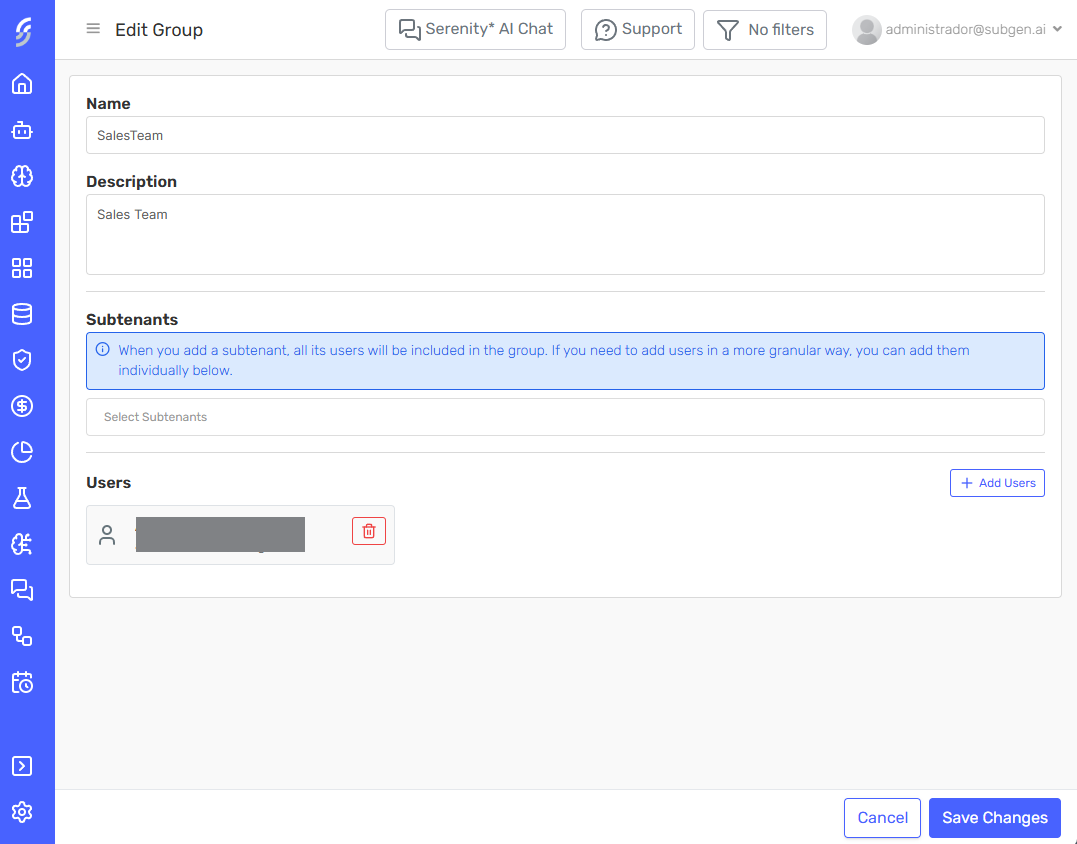
- Name — Required. A descriptive name for the group.
- Description — Optional. A brief summary of the group's purpose.
- Sub-organizations — Multi-select dropdown. Choose one or more sub-organizations. All users from the selected sub-organizations will be automatically included in the group.
- Users — Search field. Add individual users by searching. Users who already belong to the sub-organizations selected above are excluded from the results, since they are already included through the sub-organization.
The user search excludes members of the sub-organizations already added to the group. This avoids redundancy and helps you find users that are not yet covered.
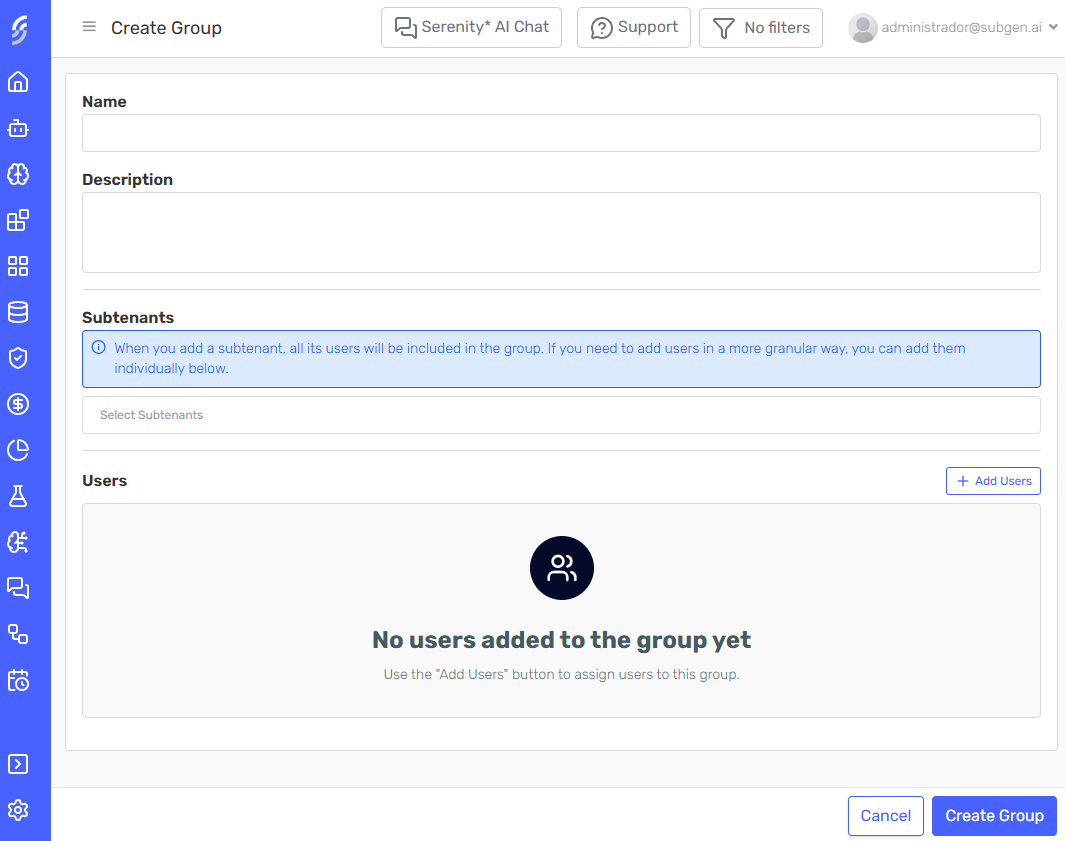
Step 3: Save
Click Save to persist the group. It will appear in the Groups grid immediately.
Editing a Group
Click the Edit action on the group row in the grid.
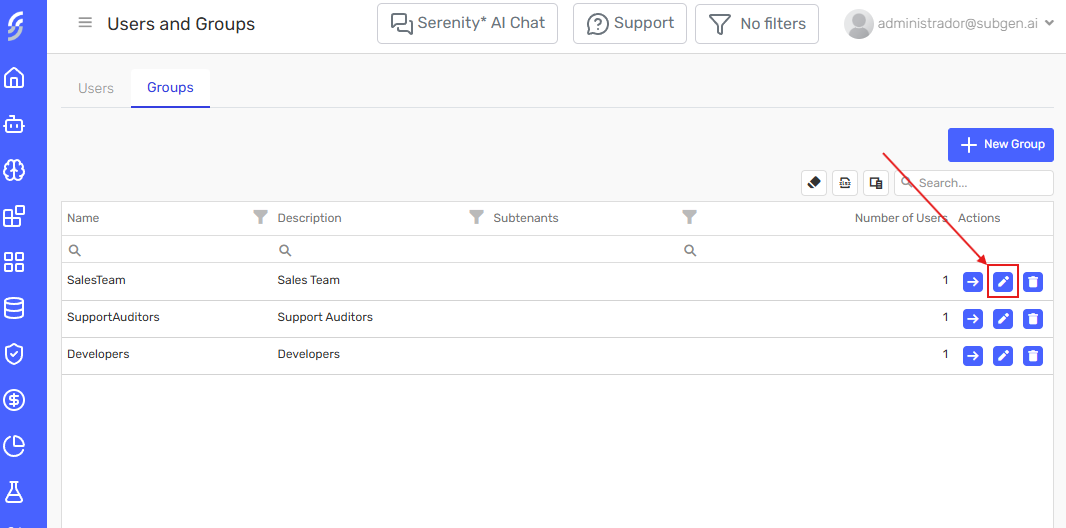
The same form used for creation opens, pre-populated with the group's current data. Modify any fields as needed and click Save to apply changes.
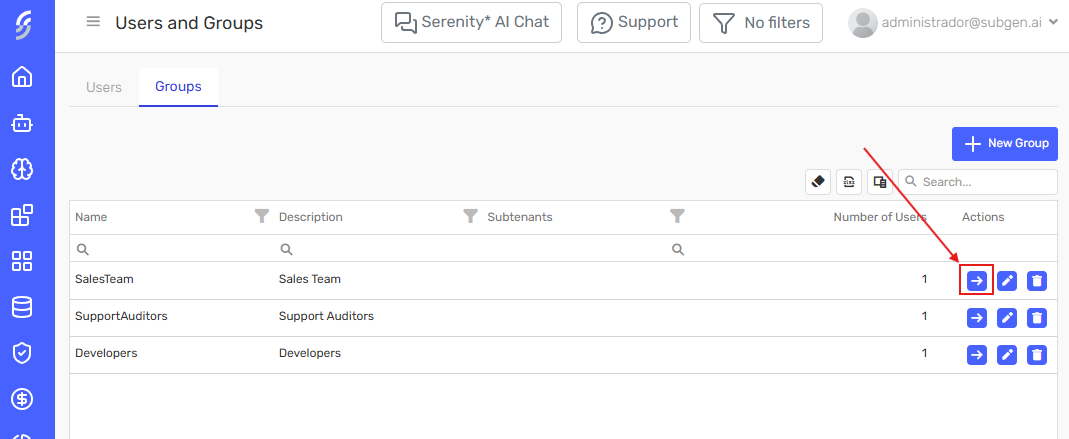
Viewing Group Details
Click the Details action on the group row in the grid.
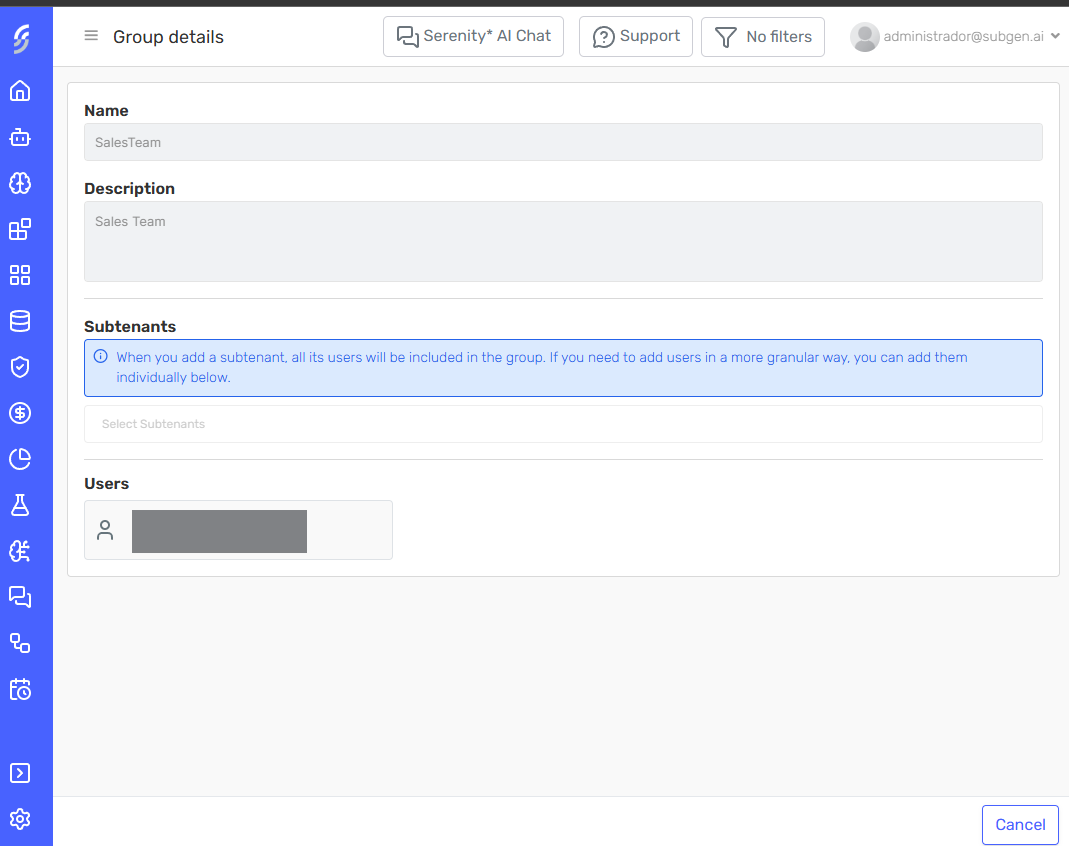
A read-only view opens showing the group's configuration, including its name, description, linked sub-organizations, and individual members.
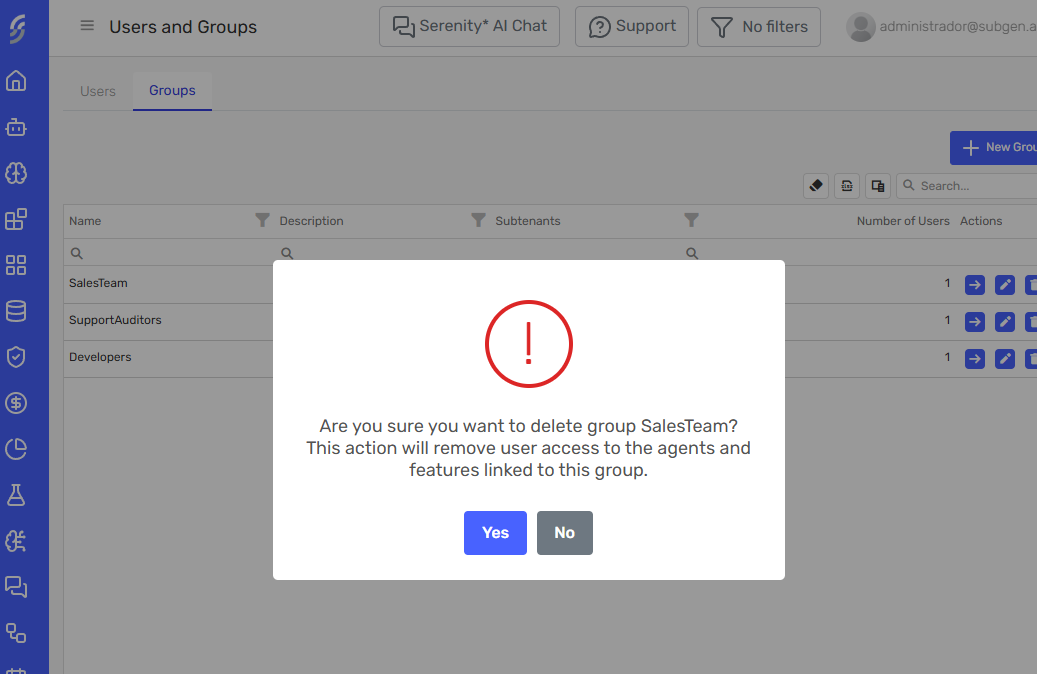
Deleting a Group
Click the Delete action on the group row. A confirmation dialog will appear before the group is removed.
Deleting a group may cause its members to lose access to agents or other platform features where the group was used to grant permissions. Always review where the group is referenced before deleting it.
Best Practices
- ✅ Name groups descriptively — Use purpose-driven names (e.g.,
SalesTeam,SupportAuditors) to make management and audits easier. - ✅ Use sub-organizations for broad inclusion — When an entire team or department needs access, add the sub-organization rather than individual users.
- ✅ Review memberships regularly — Periodically check that group compositions still reflect your current organizational structure.
- ❌ Avoid deleting groups without reviewing dependencies — Check where the group is being used before removing it.
- ❌ Don't duplicate users unnecessarily — If a user is already covered by a sub-organization in the group, adding them individually is redundant (though the system allows it without issues).