Using Serenity* Visual Studio Code Chat to Create Automated Tests

In today's fast-paced development environment, automated testing is essential for ensuring software quality and efficiency. The Serenity* VSCode Chat extension offers a powerful solution for developers looking to streamline their testing processes.
This blog post will guide you through the process of using the Serenity* VSCode Chat extension in Visual Studio Code to create automated test cases, enhancing both efficiency and effectiveness in your projects.
Introduction to Serenity* VSCode Chat
Serenity* VSCode Chat is a Visual Studio Code extension that brings AI assistance directly into your development environment. Configure custom AI agents with project-specific instructions and documentation, turning them into pair-programming companions that understand your project's context.

The Serenity QA team uses this extension to facilitate E2E test development. The configured AI agent ensures tests follow our naming conventions and Arrange-Act-Assert pattern, adds meaningful comments, and suggests appropriate reusable components that were custom-built to use Selenium to interact with Serenity* Star.
By using the VSCode extension, the team has access to the agent and can quickly ask for help and iterate with the tests directly in VSCode.
Successful use case
By utilizing this tool, we were able to reduce the time spent on manual testing by over 50%. The team reported improved test coverage and faster feedback loops, which ultimately led to a more stable and reliable product release.
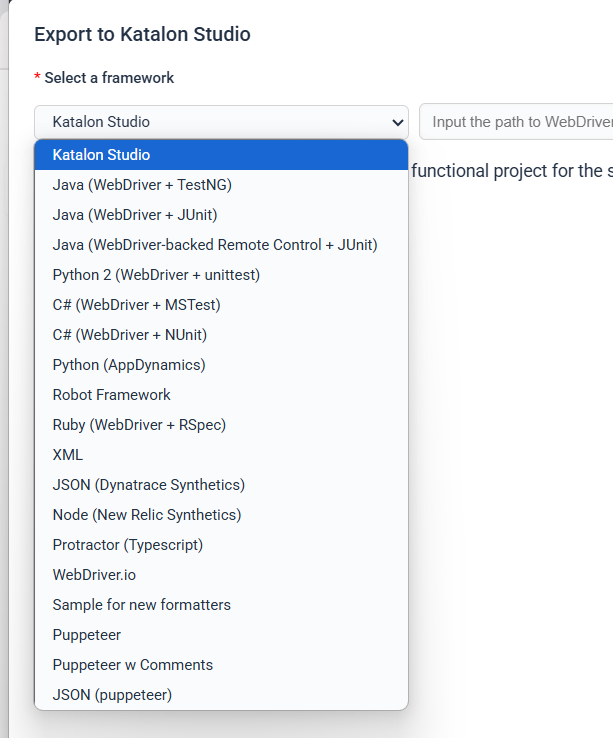
In a recent project, the Katalon Chrome extension was used to record the steps necessary for testing essential functions in our application. After recording the interactions, the scripts were exported in the programming language used by our development team. This script was then run through the Serenity* VSCode Chat extension, which refactored the code to reduce errors and align it with our coding standards. The result was a cleaner, more efficient test script that significantly improved our testing workflow.
Katalon export example, with languages available for exporting:
C# code block to be exported:
using System;
using System.Text;
using System.Text.RegularExpressions;
using System.Threading;
using NUnit.Framework;
using OpenQA.Selenium;
using OpenQA.Selenium.Firefox;
using OpenQA.Selenium.Support.UI;

namespace SeleniumTests
{
    [TestFixture]
    public class CheckConditionPlugin
    {
        private IWebDriver driver;
        private StringBuilder verificationErrors;
        private string baseURL;
        private bool acceptNextAlert = true;

        [SetUp]
        public void SetupTest()
        {
            driver = new FirefoxDriver();
            baseURL = "https://www.google.com/";
            verificationErrors = new StringBuilder();
        }

        [TearDown]
        public void TeardownTest()
        {
            try
            {
                driver.Quit();
            }
            catch (Exception)
            {
                // Ignore errors if unable to close the browser
            }
            Assert.AreEqual("", verificationErrors.ToString());
        }

        [Test]
        public void TheCheckConditionPluginTest()
        {
            driver.Navigate().GoToUrl("https://<URL>/MyAgents");
            driver.FindElement(By.XPath("//div[@id='my-agents-grid']/div/div[6]/div/div/div/div/table/tbody[2]/div/a/div")).Click();
            driver.Navigate().GoToUrl("https://<URL>/AssistantAgent/Edit/85B09A36-E17E-C359-3D4D-3A18738550EE");
            driver.FindElement(By.XPath("//a[@id='skills-tab']/span[2]")).Click();
            driver.FindElement(By.Id("btn-add-plugin-empty")).Click();
            driver.FindElement(By.XPath("//div[@id='skills-grid']/div/div/div/a/div/p")).Click();
            driver.FindElement(By.XPath("//form[@id='default-plugin-configuration-form']/div/div[2]/ignite-input/div/input")).Click();
            driver.FindElement(By.XPath("//form[@id='default-plugin-configuration-form']/div/div[2]/ignite-input/div/input")).Clear();
            driver.FindElement(By.XPath("//form[@id='default-plugin-configuration-form']/div/div[2]/ignite-input/div/input")).SendKeys("01");
            driver.FindElement(By.XPath("//div[@id='plugin-description-section']/div[2]/ignite-textarea-extension/div/textarea")).Clear();
            driver.FindElement(By.XPath("//div[@id='plugin-description-section']/div[2]/ignite-textarea-extension/div/textarea")).SendKeys("evalua si el usuario dice hola");
            driver.FindElement(By.XPath("//div[@id='plugin-configuration-form']/div/div/div[3]/button[4]")).Click();
            driver.FindElement(By.Id("btn-submit-assistant-agent")).Click();
            driver.FindElement(By.LinkText("Save Changes")).Click();
            driver.Navigate().GoToUrl("https://<URL>/AssistantAgent/Edit/85b09a36-e17e-c359-3d4d-3a18738550ee");
        }

        private bool IsElementPresent(By by)
        {
            try
            {
                driver.FindElement(by);
                return true;
            }
            catch (NoSuchElementException)
            {
                return false;
            }
        }

        private bool IsAlertPresent()
        {
            try
            {
                driver.SwitchTo().Alert();
                return true;
            }
            catch (NoAlertPresentException)
            {
                return false;
            }
        }

        private string CloseAlertAndGetItsText() {
            try {
                IAlert alert = driver.SwitchTo().Alert();
                string alertText = alert.Text;
                if (acceptNextAlert) {
                    alert.Accept();
                } else {
                    alert.Dismiss();
                }
                return alertText;
            } finally {
                acceptNextAlert = true;
            }
        }
    }
}
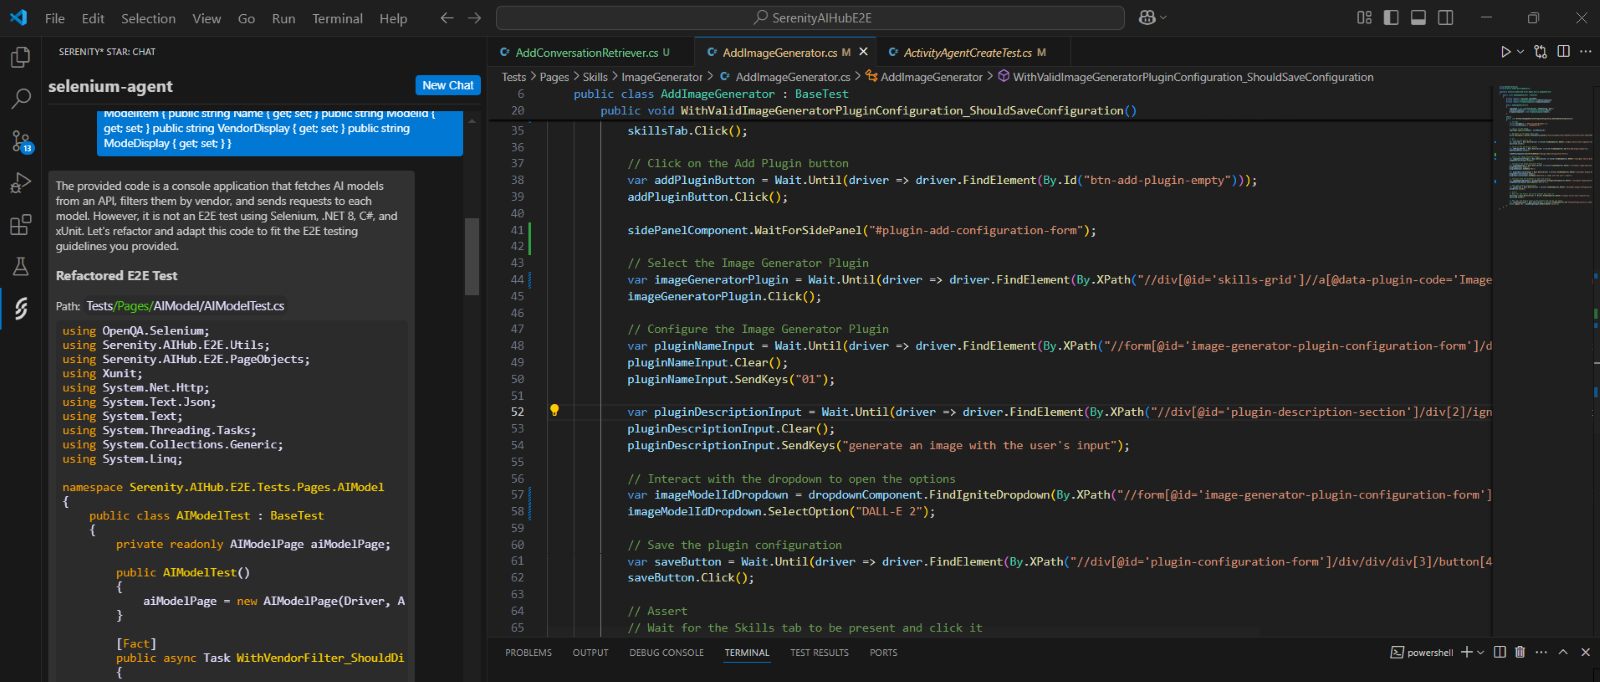
The script is then run though our VSCode extension:
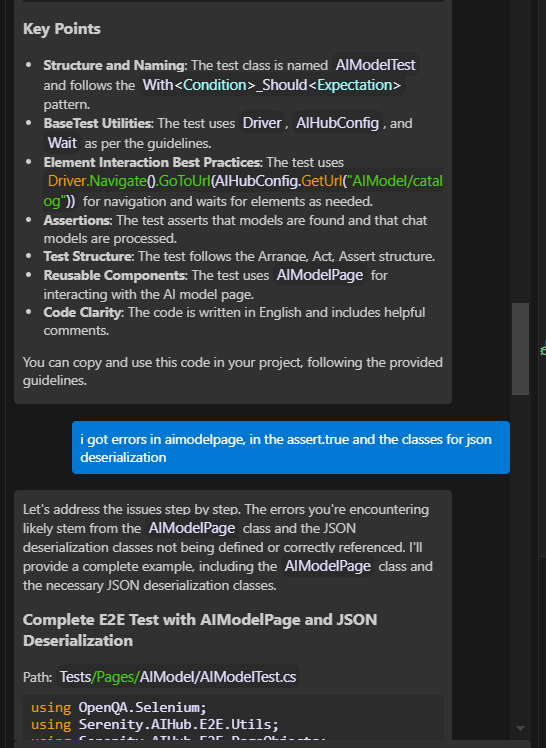
Code scripts can be iterated to completion using VSCode Chat extension, that can solve issues and propose solutions:
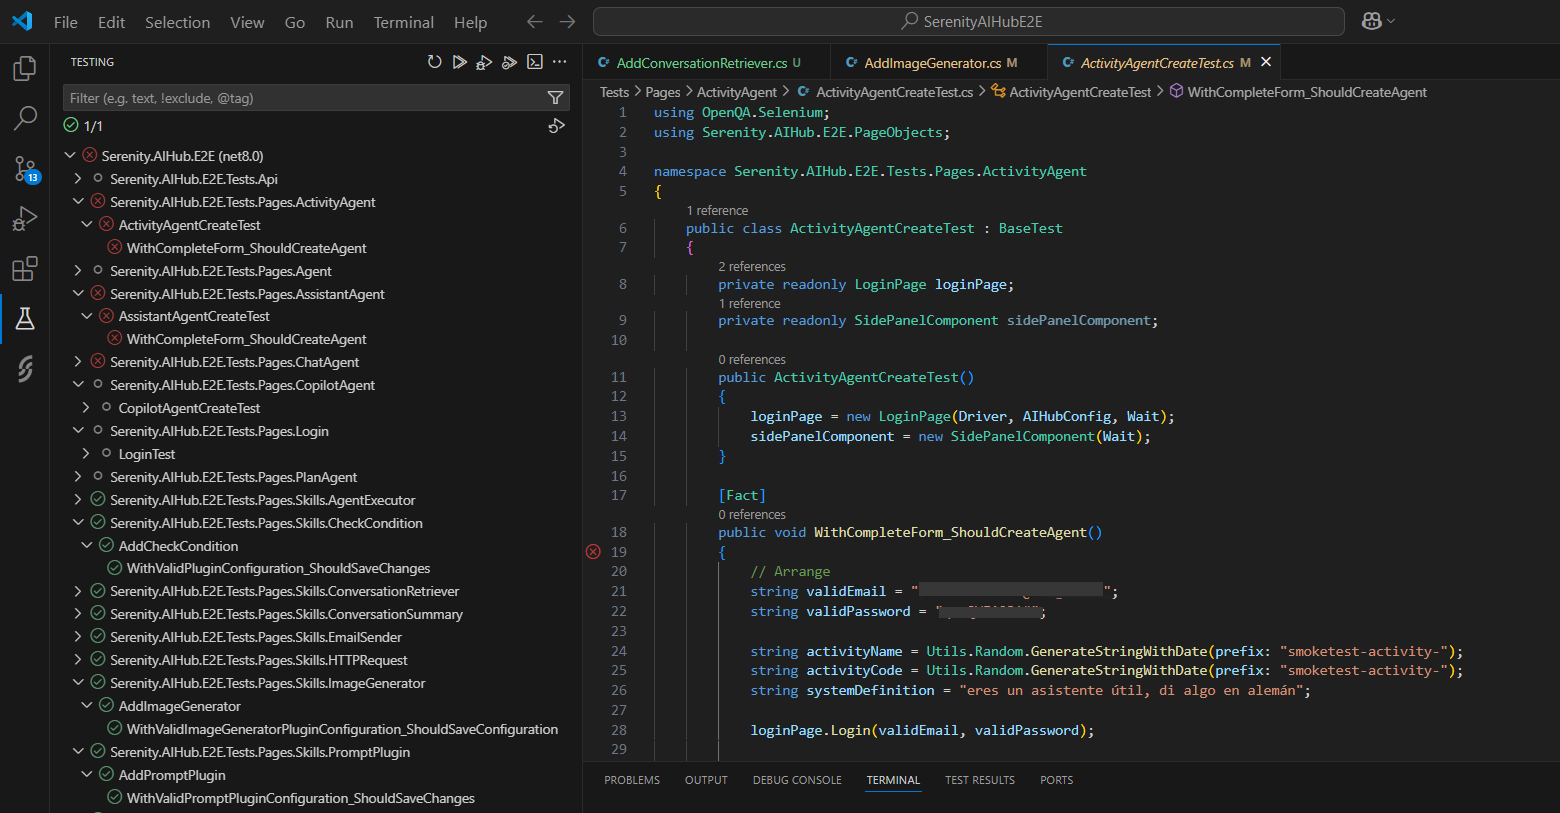
Examples of successful tests after iterating with VSCode Chat:
Configuring Serenity* VSCode Chat and Katalon
To get started with this powerful combination, follow these steps:
-
Install Visual Studio Code: If you haven't already, download and install Visual Studio Code.
-
Install the Serenity* VSCode Chat Extension:
- Open Visual Studio Code.
- Click on the Extensions icon in the Activity Bar.
- Search for Serenity* VSCode Chat and click Install.
-
Install Katalon Extension for Chrome:
- Open Google Chrome and navigate to the Chrome Web Store.
- Search for Katalon and click Add to Chrome.
-
Set Up Your Project:
- Create a new project or open an existing one in Visual Studio Code.
- Ensure that your project is configured to use the Serenity* Star framework.
Creating and Executing Automated Tests
Now that you have both tools set up, let's create and execute automated tests:
-
Record Your Test Steps:
- Open the Katalon extension in Chrome.
- Click on Record and perform the actions you want to test.
- Once finished, click Stop Recording.
-
Export the Test Script:
- Click on the Export button and choose the appropriate programming language for your development team.
-
Refactor the Script with Serenity* VSCode Chat:
- Copy and paste the export script in the integrated chat and ask the agent to refactor it.
-
Run Your Tests:
- Make sure you have the following extension installed:

- After building your project, run your tests with the play button on each test.
- Review the output for test results and any errors that may have occurred.
- Make sure you have the following extension installed:
How to Configure your Agent and Associate it with Serenity Star Chat
First we need to create an AI Agent in Serenity* AI Hub:
-
Get a Free Serenity* Star Account and Login
-
Click on “AI Agents”

-
Click over the “New Agent” button

-
Search for the VSCode agent template
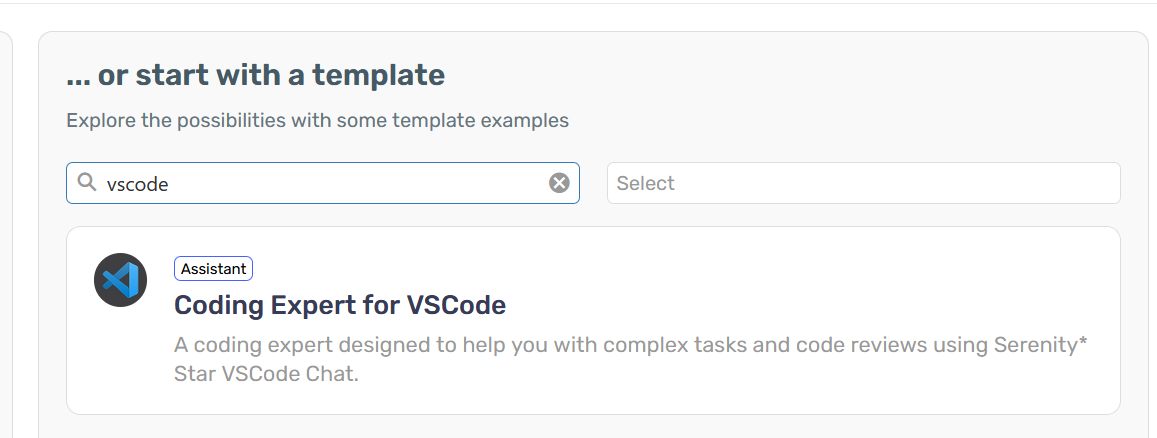
-
Adjust anything you need and click on the "Create" button at the bottom-right corner of your screen.
💡 Tip: You can freely adjust your agent’s personality, knowledge, and skills. Keep in mind, AI Agents perform best when provided with rich and relevant context.
Getting your API Key
-
Now that the agent is created, from the AI Agents grid, click over the new agent’s card to go to the Agent Designer view.
-
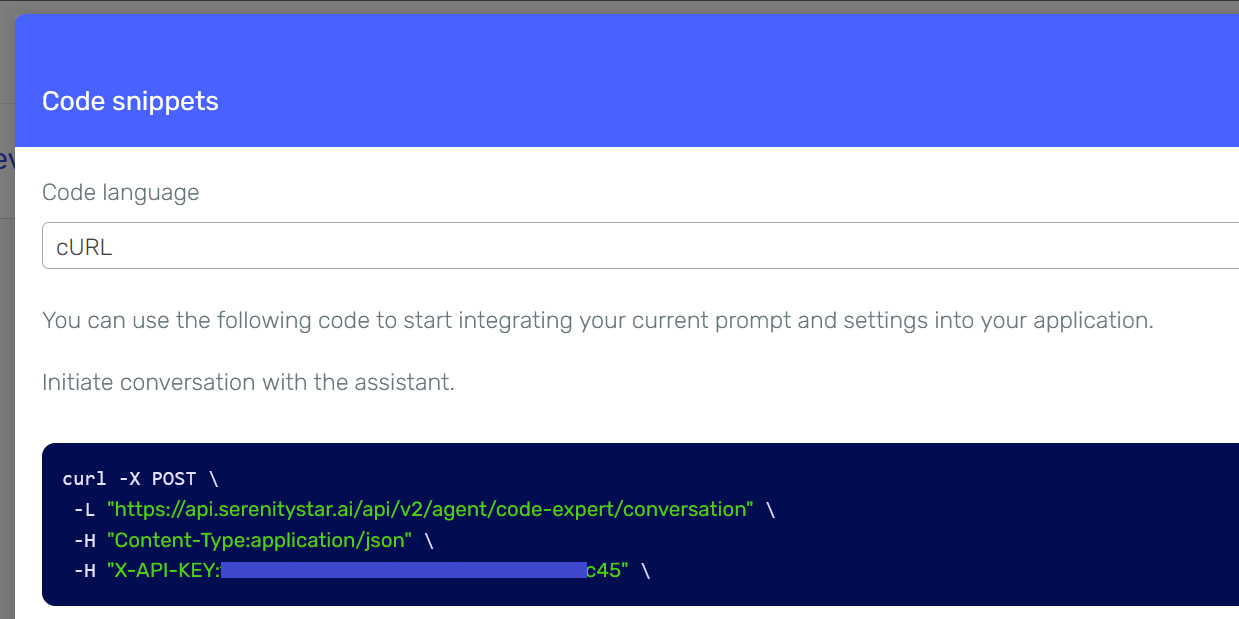
Once in the Designer for the Coding expert agent, click on the Code Snippets button at the top-right of your screen.
-
You can get your API Key from the CURL snippet:
Setting up the VSCode extension
-
Go to VSCode
-
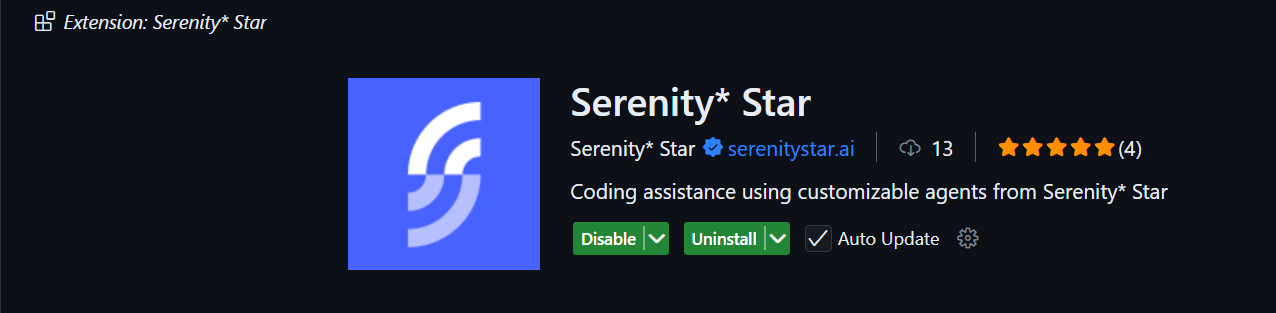
Install the Serenity* VSCode extension
-
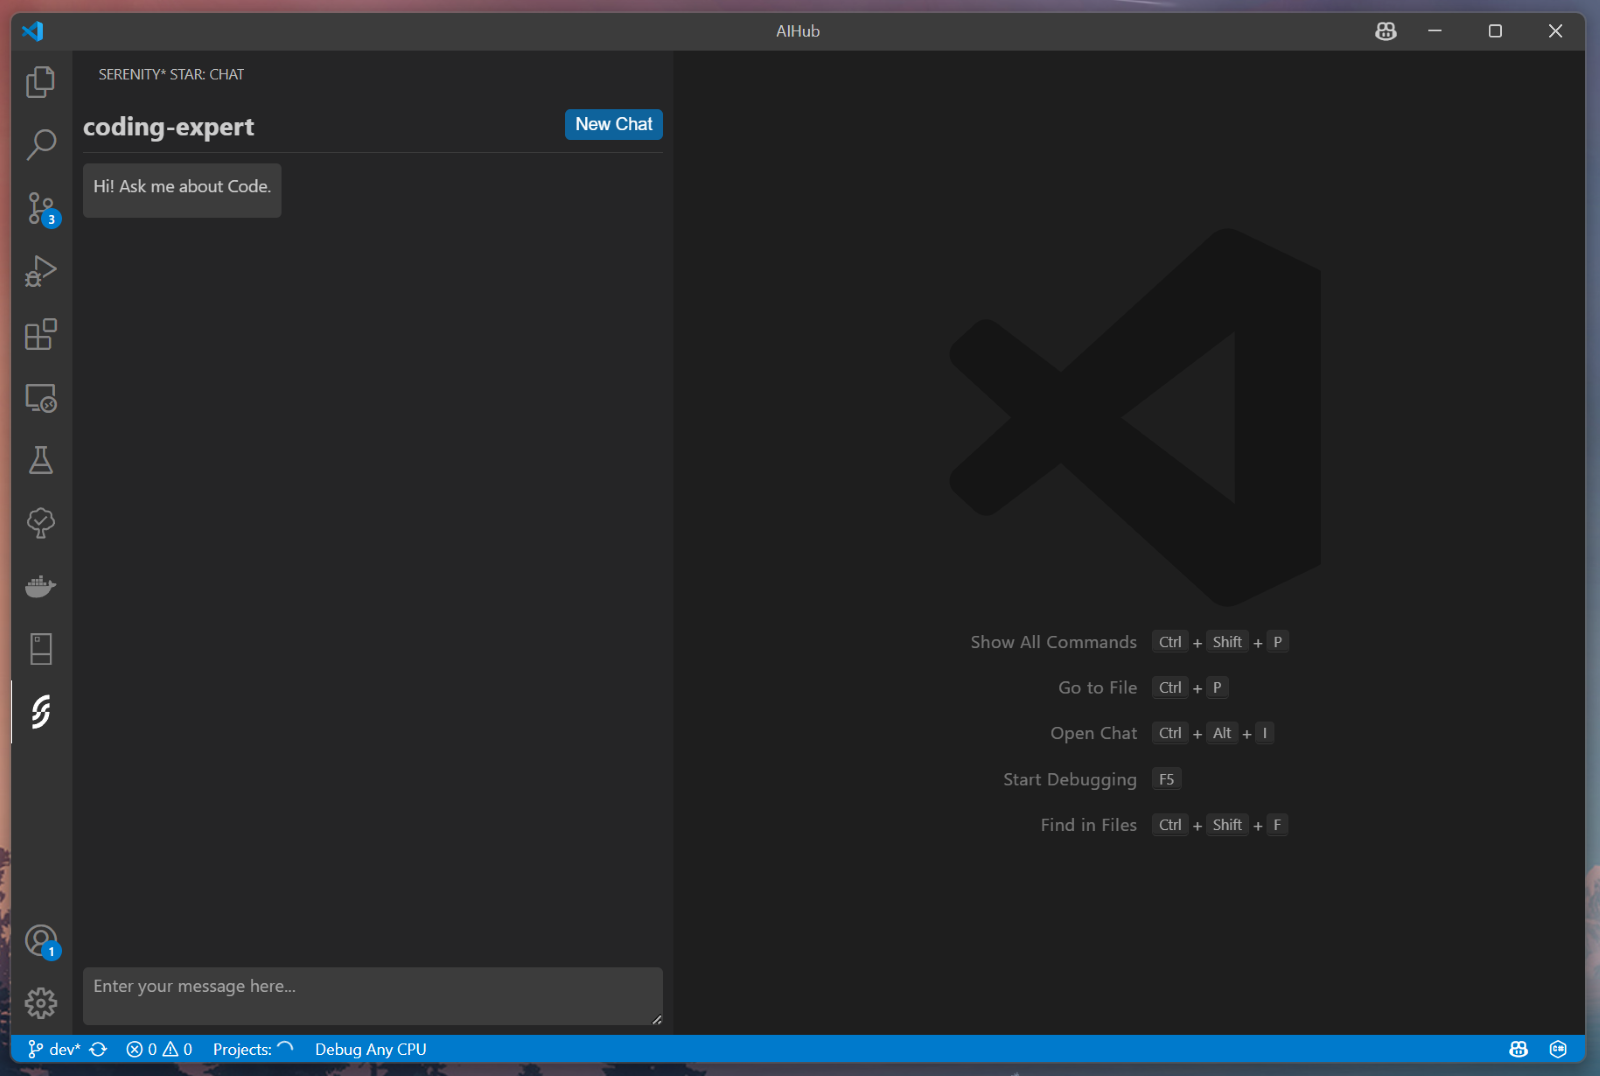
Open the Serenity* Chat View and click on the Setup Serenity button.

-
This will guide you through a short process to setup your API Key and default agent.

-
Once done, you can start chatting with your Agent from the Serenity* Chat View:
Tips and Best Practices
By integrating the Serenity* VSCode Chat extension, you can significantly enhance your automated testing process. This extension allows for efficient test creation, refactoring, and execution, ultimately leading to higher quality software and faster release cycles. Embrace these tools to streamline your development workflow and improve your testing outcomes!
For more information on using the Serenity* VSCode Chat extension, visit the Serenity* VS Code Documentation.